Did you know?

A "Pandula" is a flower which blooms only in one's imagination.

Pages

Tuesday, June 15, 2010

New small tapestry loom all warped up

I had a particularly messed up day yesterday and didn't do a single artistic thing...not one.  

However, I did start a new weaving a few days ago on my new, home-made tapestry loom.  

This is a tapestry weave, also know as an even weave, which means over one under one for one row and then reverse on the next row and repeat.  Because of the wide spacing of the warp threads ( the vertical threads), it creates what is known as a weft (horizontal threads) faced fabric.  

Weft faced fabric can range from very boardy and stiff to very soft and slinky.  These things are controlled by spacing, fiber content and how tough you pack down the weft (horizontal) thread.  It can be very creative since only the horizontal thread shows you have complet design control, anything from pictorials to simple stripes.

This one is white on white and I am using multiple's of Soumak.  Soumak is a kind of wrapping technique that creates little raised designs that look like an embroidery stitch and sometimes a crochet chain stitch.  Depending on which side you start and/or how many warp threads you cross over.  

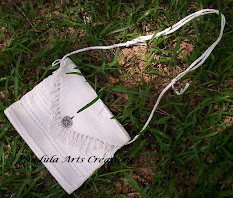
This piece is 100% cotton, peaches and cream cotton actually, the color is called natural.  It could actually be used for just about anything from a wash cloth to a doily or even a handbag which is what I will probably use it for.

Pictures to follow.   There are close ups of the Loom as well as the weaving, in case anyone else wanted to build one.


Sunday, June 13, 2010

New small tapestry loom all warped up

Well girls and boys I am indeed back to my roots.  Definitely back in my comfort zone.  Anyway who says you can't use weft face fabric as a face cloth!  I'll start a new trend!

I was kind of thinking though...I have really been pressuring myself to do something that will sell, maybe that is why it really isn't working.  So for now I will weave for the pleasure of it.  

I really wish this selling your art thing didn't take quite to so long.

Friday, June 11, 2010

New small tapestry loom all warped up

Seems to be working!!!  Only buckles slightly, but I think if I get 4 more of the large washers for the bottom warp bar it will stabilize perfectly.


Thursday, June 10, 2010

Weave or bust!

O.K. frustration level at an all time high. 

For those of you who don't know me ,you should know that my art adventures started with cross stitch...didn't last long though, stitching is not my thing. Don't ask me how I ended up doing Pine needle basket weaving (probably why my hands are so sore from needle pricks LOL). 

My friend Kraftymax (you really should check out her site, its awesome) brought over a Mirrix Bead loom one day that her parents had sent her from California  (They own Gilmore Looms).  From that moment I was hooked on weaving.  I started out with bead weaving...hated all of those ends (i.e. fringe, still do sometimes) when you got done...soooo one day I took out yarn, and it was ON. 

Unfortunately in Fl not many people weave, let alone tapestry a.k.a. weft face weave, and who ever heard of wool.  Lots of research on line, books were even hard to locate.  Kind of like with the square peg loom I have been playing with.  That was somewhere between 10 and oh 15 yrs ago.  I have built a lot of trial and error looms since then, and then had a friend of mine who welds build me one that combined the Mirrix qualities I liked combined with the Navajo loom features I liked, and I had him build it big

Unfortunately, even though I do have a place to weave where I am now, I prefer to downsize so I can weave in my room...thus the frustrations that lead to things like trying backstrap weaving, and the potholder loom.

    Soooooo, where all of this is leading to is that the last face cloth that I did today didn't turn out quite right either...made me pretty pi---- off.  So I just went up into that inferno of an attic and dug into my packed up boxes from home and put together a smaller version of my large tapestry loom.  Amazingly enough I found all of the parts and when I assembled what I could find it seems that it might even be better than the original as over the years I have continued to modify this TOOL of the trade.  What this means is I now have a portable loom and am about to warp (that is the up and down threads on the loom) it up and do some weaving that I am actually pretty good at.  WOOOOO HOOOOO!!!!!!!

Stay tuned ladies and gentleman...same bat time same bat channel you will be continuously updated as usual.  Here are pics of the loom and a couple of my first weavings.


Homemade Pot holder loom

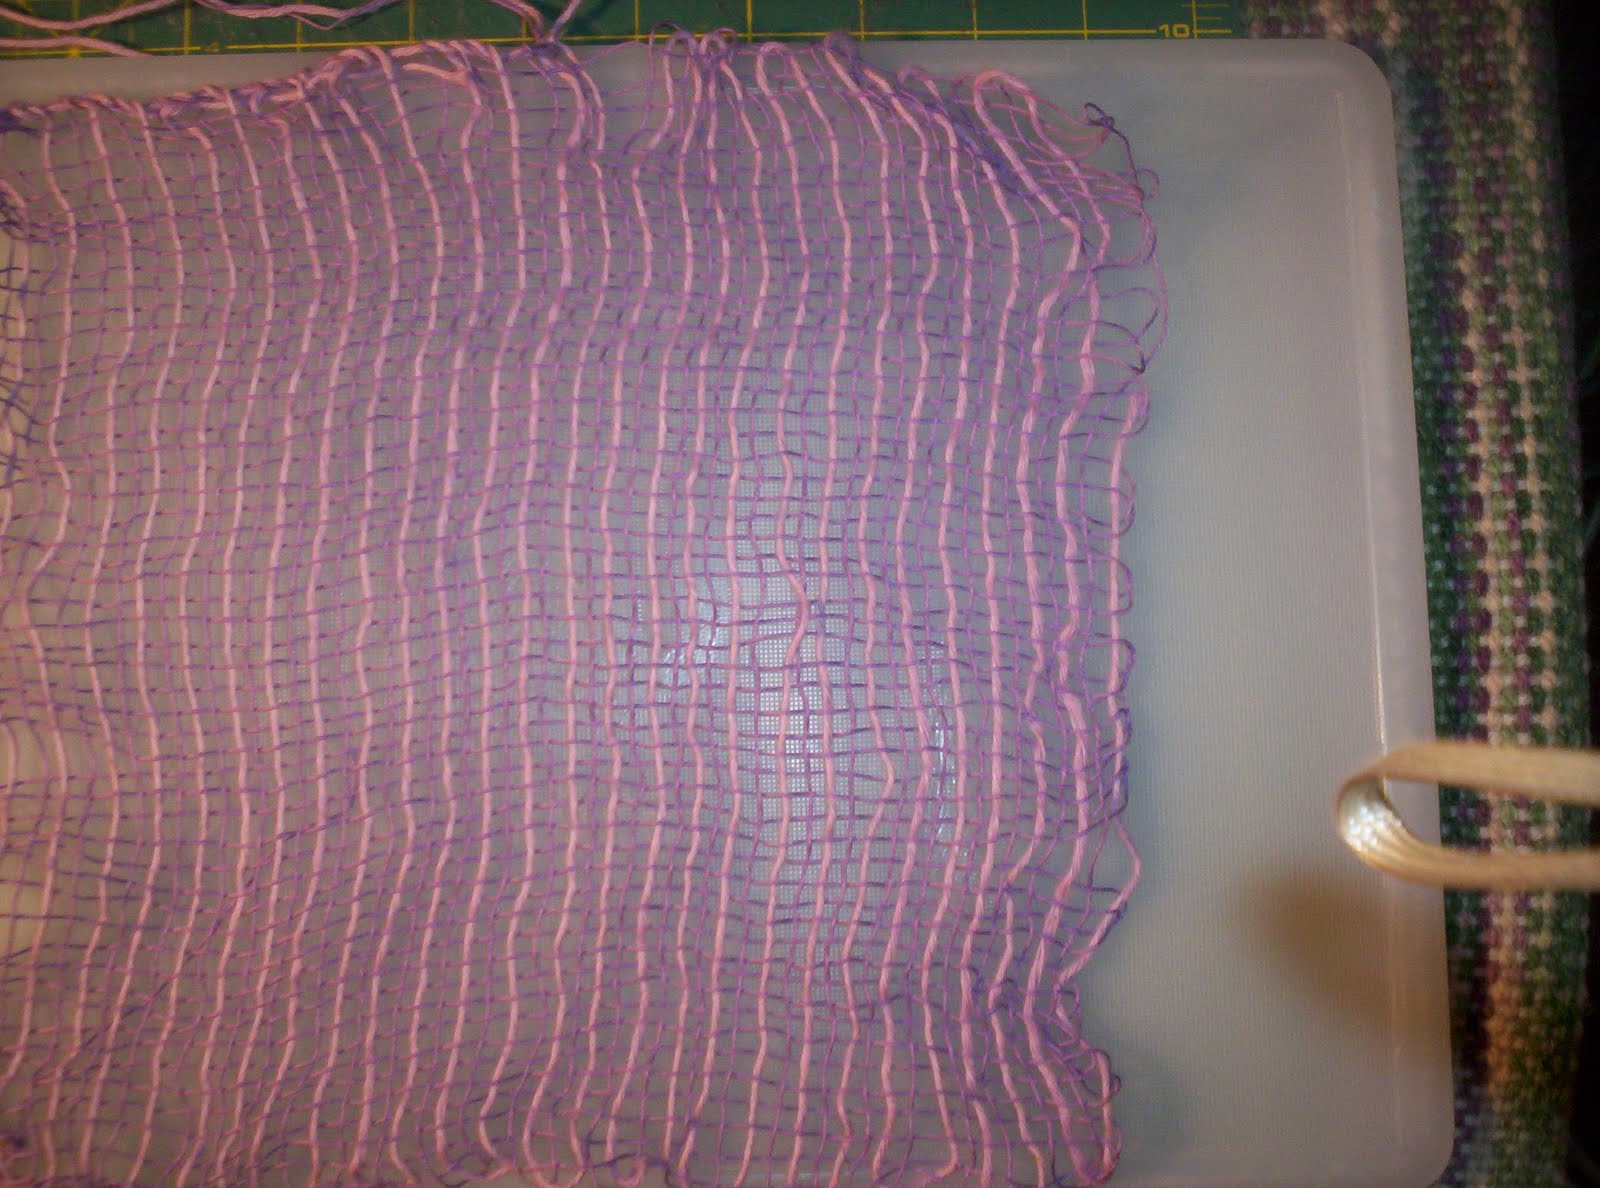
Ok so it's complete.  This one turned out great (so far).  I don't have it off the loom yet so fingers crossed.  

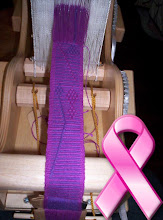
It has two shades of purple thread along with a silver thread all head together (triple strand).  I also figured out how to incorporate a little bit of design.  YEAH!  Tell me what you think.  The pictures run from beginning to end.


Homemade Pot holder loom

Ok...so I decided (after I finished the first post) to share what NOT TO DO on a pot holder loom.  You definitely want to use yarn that is the appropriate size for the spacing of your nails/pegs.  

I really was disappointed, the first one even turned out better than this one.  The second one, the white with delicate threads of purple and green added in, turned out perfect...this one a total failure.  Bummer...Self taught is definitely a great way to "learn from your mistakes".  Never never never use too fine a yarn on this particular loom.  LOL!  Notice how sloppy the edges are.


Square Loom/Potholder loom

My loom is home made so I don't exactly know what to call it, but I learned yesterday that because of the spacing on mine I can't use fine yarn.  Made an entirely purple piece took it off the loom and it had such a sleazy weave I had to throw it out.  Would have snagged and caught on any and everything.  Live and learn. 

Also tried to modify a lacy pattern...what a night mare.  

So today I am going to do a simple one with the technique I already know.  It is called continuous weave...as it it only uses one thread that you pull out of the skein as needed.  It is woven on the bias in this case corner to corner.  Kinda cool it is how the white one in the pics from yesterday is done. 

Then when that one is done and I have some kind of gratification out of this adventure, I am going to try the lace pattern again.  I tried to convert the pattern from a 6x6 loom to work on my 10x10 (wv size, not loom size), in hind site I think after much deliberation and thought that maybe the number of pegs on my loom are somehow the same as the 6x6's...Maybe because it is home made?  The pegs/nails are actually not all that skinny and are spaced 1/4" apart.  Also they are not spaced in 3's like store bought ones.  So I will try the pattern just as it reads and see what happens.  I don't yet fully understand the theory of warping for three layers before you weave either....lots of learning curve here... wish I just had a smaller tapestry loom that I could fit on my lap instead of just the big one.  

Here are pictures of the actual loom.


Wednesday, June 9, 2010

Homemade Pot holder loom-Handmade face cloths

Ok girls and boys here are the pics of the first two cloths.  They would be great as a face cloth or even a dish cloth.  Eventually I will be creating lace effects as well.

The purple one didn't do so well, but the second turned out MARRRRVELOUS.  Of course they will be for sale...soon in fact since I seem to have remembered the process so easily...

Here are the pictures and please keep your eyes peeled for the listings! 


I am going back to my roots.

Well girls and boys I have to tell you my hands really took a beating on the "  Bulldog basket"  , can't tell you how many times I stuck myself with that d--- needle. 

So I went up into the attic and opened boxes from the move until I found my homemade "  potholder"   loom.  (That part was loads of fun...miss my spare bedroom that I had set up as a studio.)  

Then I went on line, of course, and founds lots of info.  Do keep in mind I haven't used this in years, and any of you who really know me know that weaving was my all time favorite pass time for years.  It was my 1st crafting LOVE. 

Completed my trial piece yesterday, a PURPLE, cotton face cloth.  Turned out o.k. but not great.  They work up pretty quick though and I am now 1/2 way through the second wash cloth and it looks marvelous so far.    So keep your eyes peeled, have to let my hands heal up for a little while before I jump on that green basket.

Wonderful Wednesday Feature

Time for another Wonderful Wednesday Feature artist!  This one is on Etsy and her shop is called  JDStar Ltd. Co.
Since I weave I found her bracelets quite the idea.  She warpface weaves, probably on an inkle loom, these little tapes and turns them into these charming friendship bracelets.  Very reasonably priced for anyone.  This is how you get sales, no matter what you sell...people have to be able to AFFORD the items.

Love Love Love these bracelets.

Don't forget to visit and click, convo, heart or buy to support our local artists. 


Monday, June 7, 2010

Newest Coiled Pine Needle Basket


Zedicus the celebrity dog!

Gotta love this little guy!


Sunday, June 6, 2010

Pine needle basket coiling

I have to learn everything the hard way.  LOL!  

I decided to try waxing some of my earliest pine needle pieces to see what effect would be.  HATED IT!  

I used a scented wax...I like the pine scent that the pine needles produce much better.  

I DID like that it made the piece VERY firm, however, I have completed my newest basket (man are you gonna love it) with a stitch that provides plenty of firmness all on its own.  No wax needed.

So there you have it girls and boys...I still prefer the NATURAL  results from the coiling of pine needles.  Live and learn.

Pay attention tomorrow will be posting the "  Cheery Red"   basket.  
Georgia Bulldog fans its red and black!
 

Thursday, June 3, 2010

Cheery Red Pine Needle basket

Soooo...the new basket has sides about one inch tall.  Red and black...all you Georgia bulldog fans might want to get your wallets ready!

Wednesday, June 2, 2010

Cheery Red Pine Needle basket

    So I worked on this thing about 6 hrs yesterday and it is now 8 1/2"   x 7 1/2"  !!!  Decided I wanted to do a little bit larger piece than the last ones, so in fear of running out of this red (and since it is a leftover skein, I have no way of matching dye lots) I decided to incorporate black, which I have an over abundance of.  I also put it in the microwave for 1 minute to melt the wax on the thread...made the colors practically sparkle.

I have also discovered that what I read about the fancier stitches making for a sturdier basket is quite true.  It means twice as much needle work because each stitch has two legs instead of one, which also means it takes twice as long, but the results are well worth it. 

Here are the newest pics...haven't worked on it today due to tons of computer work.  Loaded all art that is on Etsy onto my artfire site as well.  Lots of editing and such.  Then on to the "  Link Love"  on face book, oh yeah and lets not forget the blog and e mail...at least my hands get a little bit of a rest his way.  LOL!
Anyway I probably won't get much done on it today so here is what I have so far.

As usual all comments are more than welcomed. 


Wonderful Wednesday Feature

O. K. Girls and boys I have a new Wonderful Wednesday Feature! 

I came across this one on Etsy.  It is called RainwheelThis artist takes old leather belts and recycles them into very chic and trendy cuff bracelets.  I see several I would love to own myself.  

Please go and visit...don't forget to "heart, convo, click or buy something"!  Lots of support for our fellow artists. 


This one is my favorite.  Reminds me of some of my drawings.


Tuesday, June 1, 2010

Pine Needle basket coiling


So here are pics of my "  Cheery Red"   pine needle basket with a pine bark center that I made myself from a tree in the front yard for the start.

Right now it measures 7 1/4"   x 7 1/4"     making it slightly oblong.

I have used the V stitch as I read that the fancier stitches make for a sturdier basket than the plain stitch does.  I still find it slightly busy.  

I will probably run out of the red since I am trying to use what supplies I already have, so I will probably trim it with black.  (Bulldog basket? LOL)  Anyway I am going for a bowl shape a bit larger than the other 2 baskets that I have already done.

Here are the pictures.